Classroom labels: The Essential Role of Classroom Labels in 2026
This guide covers everything about classroom labels. As of April 2026, classroom labels have evolved from mere identification tags to sophisticated tools that enhance learning, foster independence, and simplify classroom management. They serve as visual cues, guiding students and educators alike through the organised world of a modern learning environment. This guide explores their complex applications, from labeling supplies and subject areas to supporting students with diverse learning needs.
Last updated: May 1, 2026
- Classroom labels are crucial organizational tools that boost student independence and classroom efficiency in 2026.
- They range from simple supply bin labels to complex signage for learning stations and subject areas.
- Effective labeling requires clear design, strategic placement, and consistency for maximum impact.
- Special education classrooms can significantly benefit from visual labels to support students with learning differences.
Defining Classroom Labels: More Than Just Stickers
Classroom labels are visual markers used to identify, categorize, and direct attention within a learning space. They can be applied to anything from individual student belongings and classroom supplies to furniture, learning centres, and even areas of the room designated for specific activities.
Consider a bustling kindergarten classroom where a new student arrives. Clearly labeled cubbies for backpacks and coats, labeled bins for art supplies (crayons, scissors, glue), and even labeled zones for reading or quiet time immediately orient the child and reduce anxiety. This immediate visual structure empowers them to handle the space independently.
Types of Classroom Labels and Their Applications
The versatility of classroom labels means they can be tailored to almost any need. Understanding the different types helps educators choose the most effective solutions for their specific environment.
Supply and Storage Bin Labels
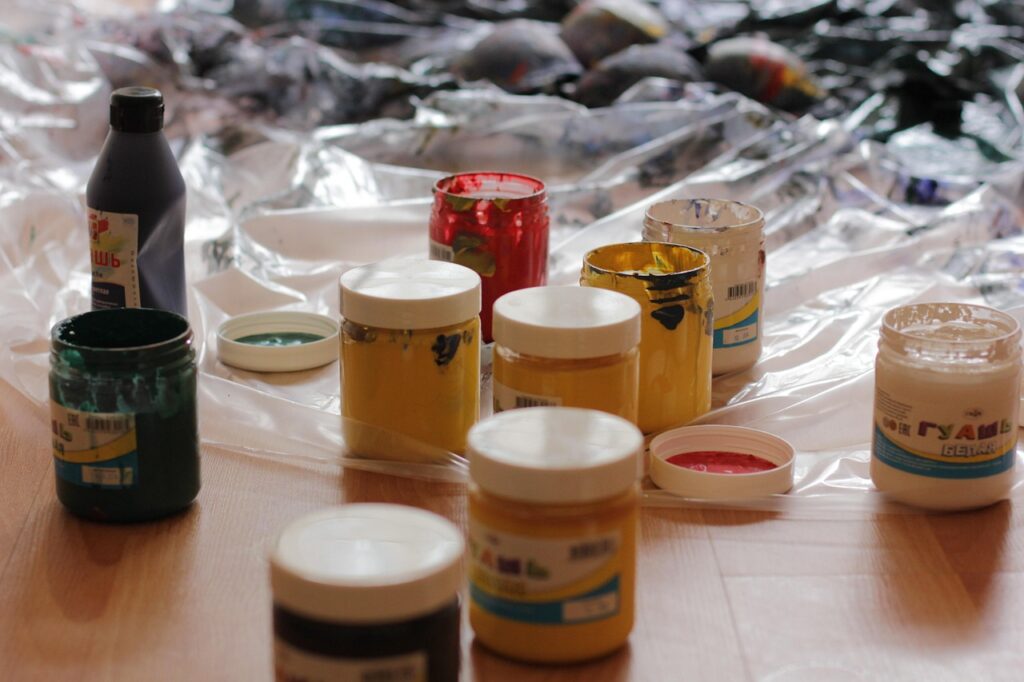
Perhaps the most common application, these labels identify the contents of storage bins, drawers, or shelves. This is crucial for keeping materials organised and easily accessible.
For instance, a second-grade teacher might use durable, laminated labels on bins containing math manipulatives, science experiment kits, or literacy games. Each bin could feature a clear picture alongside the word (e.g., a picture of blocks with the word “Blocks”) to support early readers. This prevents materials from being mixed up and saves valuable instruction time.
Subject Area and Learning Station Labels
These labels designate specific areas within the classroom dedicated to particular subjects or activities, such as a “Reading Corner,” “Math Zone,” or “Science Lab.” They help structure the physical space to support diverse learning activities.
Imagine a middle school science classroom. Clearly labeled stations like “Chemicals,” “Microscopes,” “Dissection Area,” and “Computer Analysis” guide students through experiments safely and efficiently. This also helps manage transitions between different learning tasks, ensuring students know where to find the necessary resources.
Student Name Tags and Personal Belonging Labels
Essential for managing individual student items, these labels ensure personal belongings are easily identifiable, reducing lost items and promoting responsibility.
In a preschool setting, each child’s cubby, coat hook, and desk might have a name tag featuring their name and a small, personalized icon or photo. This helps young children recognise their own space and belongings, fostering a sense of ownership and independence. Many schools also use these for field trips or substitute teacher days.
Directional and Instructional Labels
These labels provide direction or simple instructions, helping students Handle the classroom independently or follow procedures.
A secondary school history teacher might label the shelves in a research library with subject headings like “World War II,” “Ancient Civilizations,” or “American Revolution.” This empowers students to find resources independently. Similarly, a label near the classroom door saying “Quiet Please” or “Line Up Here” sets behavioural expectations.
Labels for Special Education Support
For students with learning disabilities, autism, or other special needs, visual labels are invaluable communication and organizational tools.
In a special education classroom, labels might identify “Sensory Break Area,” “Quiet Space,” or “Communication Board.” For students with autism, visual schedules using picture labels can outline the day’s activities, providing predictability and reducing anxiety. A student might have a label on their desk indicating their preferred seating arrangement or specific learning tools they require.
According to the Centre for Parent Information and Resources (2026), visual supports like labels can significantly improve comprehension and independence for students with autism spectrum disorder.
Strategies for Effective Classroom Labeling in 2026
Simply slapping labels on things isn’t enough. Effective classroom labeling involves thoughtful planning and consistent execution. By April 2026, educators have a wealth of resources and strategies to draw upon.
Consistency is Key
Maintain a consistent design, font, and size for labels throughout the classroom. This visual uniformity makes the entire system easier for students to understand and navigate.
A school-wide initiative might standardize label formats for common areas like the library or cafeteria. Within a single classroom, using the same font (like Arial or Comic Sans for readability) and colour scheme for similar items (e.g., all supply bins blue, all subject areas green) creates a cohesive look and feel.
Clarity and Simplicity
Labels should be easy to read at a glance. Use clear, concise language and avoid jargon. For younger students, incorporate relevant pictures or symbols.
Instead of “Materials for Unit 4 Activities,” a label might simply read “Math Games” or show an icon of dice. This ensures that even students who struggle with reading can quickly identify the contents. The goal is immediate recognition, not a reading comprehension exercise.
Strategic Placement
Place labels where they are most visible and directly relevant to the item they identify. Ensure they are at a height accessible to the students who will use them.
For supply bins, the label should be on the front, facing outwards. For subject areas, place signs at eye level or hung prominently above the designated zone. Labels on desks should be placed on the front edge or the top surface, depending on visibility needs.
Durability and Readability
Choose label materials that can withstand the rigors of a classroom environment. Lamination, waterproof stickers, or durable vinyl are often good choices.
A science lab, for instance, might require labels that can tolerate spills or frequent handling. Using a high-quality printer and durable adhesive paper ensures labels don’t peel off or fade quickly. The ruhrkanal.news reported on products like 4000-piece white dot stickers (13mm round, removable & waterproof) suitable for classroom organising, highlighting the demand for durable, functional labels as of April 2026.
How to Create and Implement Classroom Labels
Creating and implementing classroom labels is a straightforward process that can be adapted to various needs and budgets. Here’s a step-by-step approach:
- Inventory Your Needs: Identify all the items, areas, or categories that require labeling. Think about supplies, books, bins, stations, rules, and student belongings.
- Choose Your Label Type: Decide on the best format. Options include printable sticker sheets, pre-cut labels, card stock labels to be laminated, or even digital labels for interactive whiteboards.
- Design Your Labels: Use design software (like Canva or even Word) or dedicated label-making tools. Keep your design consistent with your chosen theme or colour scheme. Include text and, if applicable, clear images or icons.
- Print and Prepare: Print your labels on appropriate paper. For added durability, consider printing on sticker paper and then laminating them, or print on card stock and use a laminator. Cut them out carefully.
- Apply Strategically: Attach the labels to their designated items or locations. Ensure they are secure, visible, and positioned correctly.
- Educate Students: Spend time with your students explaining what each label means and how to use the organizational system. Reinforce the purpose of labels regularly.
- Maintain and Update: Periodically review your labels. Replace worn ones and update them as your curriculum or classroom setup changes.
Real-World Examples of Effective Classroom Labels
Seeing how others implement classroom labels can spark inspiration. Here are a couple of concrete examples:
Example 1: A K-2 Literacy Focus Room
In a K-2 setting dedicated to literacy, labels are critical for independent work. Imagine a room with distinct zones: a “Quiet Reading Nook” with comfortable seating and labeled book bins by genre (e.g., “Picture Books,” “Early Readers,” “Non-Fiction Animals”); a “Writing Centre” with labeled supplies (e.g., “Pencils,” “Markers,” “Paper Types”); and a “Phonics Station” with labeled games and manipulatives.
Name tags on individual desks would include not only the student’s name but also a small picture of their assigned reading buddy. Additionally, labels on storage carts might clearly indicate “High-Frequency Word Cards” or “Sentence Building Blocks.” This system, implemented by educators as noted in discussions on NPR’s educational reporting (April 2026), helps manage diverse learning needs and promotes self-directed learning.
Example 2: A High School STEM Lab
A secondary school STEM lab demands precision and safety. Labels are paramount here. Storage cabinets for chemicals might have “Flammable,” “Corrosive,” or “Oxidizer” labels, along with hazard symbols. Workstations could be labeled for specific equipment: “Microscope Station,” “3D Printer Lab,” “Soldering Zone,” or “Computer Simulation Area.” Safety equipment like eyewash stations and fire extinguishers would have highly visible, standardized labels.
Also, drawers containing specific tools like “Calipers,” “Screwdrivers,” or “Circuit Components” would be clearly marked. Even lab benches might have numbered labels for group assignments. According to Trend Hunter’s April 2026 Design Trends, clear, functional design is key in modern learning spaces, and labels contribute significantly to this aesthetic and practical goal.
Common Mistakes and How to Avoid Them
Even with the best intentions, labeling can go wrong. Here are common pitfalls and their solutions:
Mistake 1: Overly Complex or Cluttered Labels
Using too much text, small fonts, or intricate designs can make labels hard to read and confusing for students.
Solution: Prioritise clarity and conciseness. Use simple language, large fonts, and high-contrast colours. If using images, ensure they are easily recognizable. Think “less is more.”
Mistake 2: Inconsistent Labeling System
Using different fonts, colours, or styles for similar items creates confusion and undermines the organizational system.
Solution: Develop a style guide for your labels. Decide on a primary font, a set of colours for categories, and a standard format. Stick to it consistently across all labels.
Mistake 3: Labels That Don’t Last
Using standard paper labels that peel, fade, or get damaged quickly makes the entire system look unprofessional and difficult to maintain.
Solution: Invest in durable materials. Laminate paper labels, use waterproof sticker paper, or opt for vinyl labels. Consider the environment – a science lab needs more strong labels than a quiet reading corner.
Mistake 4: Ignoring Student Input
Placing labels without considering student accessibility or understanding can render them ineffective.
Solution: Involve students in the labeling process. Ask for feedback on readability and placement. For younger students, co-create labels with them, drawing pictures together. This also increases their investment in the system.
Expert Tips for Maximum Impact
To truly maximise the benefits of classroom labels, consider these expert-level strategies that go beyond basic organisation.
Use QR Codes for Dynamic Content
Integrate QR codes into your labels for a digital enhancement. A label on a science experiment station could link to a video demonstration, safety protocols, or further reading materials. A book bin label might link to an audiobook version or author information.
This approach, popular as of 2026, adds a layer of interactivity and depth. According to Education Week (2026), QR codes offer a bridge between physical and digital learning environments, enhancing engagement and providing on-demand resources.
Embrace Colour-Coding Strategically
Beyond basic categorization, use colour-coding to represent different learning pathways or support needs. For example, in a differentiated instruction setting, materials for one group might have blue labels, another green, and a third yellow. Classroom labels allows students to quickly identify resources relevant to their current learning task without explicit verbal cues.
Incorporate Braille or Tactile Elements
For visually impaired students or those with tactile learning preferences, consider adding Braille or raised-line elements to your labels. This not only supports accessibility but also adds a unique sensory dimension to the learning environment.
Regularly Review and Refresh
Classrooms are dynamic spaces. As curriculum changes, new materials are introduced, or students’ needs evolve, your labeling system should too. Schedule a review at the end of each semester or year to ensure labels are still relevant, accurate, and in good condition.
Frequently Asked Questions
What are the primary benefits of using classroom labels?
Classroom labels enhance organisation, promote student independence by making materials and spaces easily identifiable, improve classroom management, and provide clear visual cues for learning activities and expectations.
Are there specific types of labels best for younger children?
Yes, for younger children, labels should include clear pictures or icons alongside simple text. Bright colours and large, easy-to-read fonts are also beneficial to aid recognition and comprehension.
How can I make my classroom labels more durable?
To increase durability, print labels on high-quality sticker paper or card stock, then laminate them. Using waterproof or vinyl labels designed for high-traffic areas also ensures longevity against wear and tear.
Should I label everything in my classroom?
While it’s tempting to label everything, focus on items that benefit most from clear identification and organisation. Prioritise supplies, learning stations, student belongings, and important instructional areas to avoid overwhelming the space.
Can classroom labels help with classroom management?
Absolutely. Labels can define behaviour zones (e.g., “Quiet Zone”), indicate where materials should be returned, and clearly mark areas for specific activities, which helps students understand expectations and routines.
What is the best way to label books in a classroom library?
Labeling books by genre, reading level (e.g., Lexile score), or subject matter is highly effective. Placing the label on the spine and/or back cover ensures easy identification when books are on the shelf or in a bin.
Conclusion: Labeling for a Smarter Learning Space
As of April 2026, the strategic use of classroom labels is a cornerstone of effective teaching and learning. They are not just decorative elements but functional tools that empower students, simplify operations, and create a more intuitive, organised, and supportive educational environment.
Actionable Takeaway: Begin by identifying one area in your classroom that could benefit most from clearer labeling, and implement 2-3 new labels this week to experience the immediate impact on organisation and student independence.
Related read: Classroom Name Tags 2026: Essential Tools for Every Learning Space
Editorial Note: This article was researched and written by the Class Room Centre editorial team. We fact-check our content and update it regularly. For questions or corrections, contact us. Knowing how to address classroom labels early makes the rest of your plan easier to keep on track.